How To Prep For A Successful Brand Photoshoot
I just had my first brand photoshoot and it was AMAZING! You might be thinking, “what is a brand photoshoot?” Essentially, it’s a photoshoot specifically for your business. You’ll most likely use these photos on your website or social media and it’s a great way to show the lovely face(s) behind your biz.
There are 4 things you need to do to prepare for a successful brand shoot:
1. Find A Killer Photographer
Find a photographer that is in your location who shoots a style that you LOVE and is inline with your brand aesthetics!
Ex. I wanted a really light and clean aesthetic with more of a lifestyle/casual vibe.Instagram is a great way to discover new photographers and see their work.
If your friend, or someone on your Instagram, had some really awesome photos taken then ask them who their photographer was.
Once you find a photographer that you love, reach out to them and see if they’d be interested in doing a brand shoot for you.
My photographer didn’t really have too many “brand shoot” examples on her Instagram, but I reached out anyways because I’m obsessed with her photography style, and she was thrilled to work with me.
I met my photographer Ashley, of Klassh, via Instagram DM. She reached out to me and a year later we made a brand shoot happen! She was a DREAM to work with! I was beyond thrilled with the photos! If you’re looking for a photographer in the Toronto or Montreal area then Ashley is your girl.


2. Find Your Shoot Location
You might want to discuss location options with your photographer early on, but make sure you do a bit of research to ensure that you know the type of location makes sense for your brand shoot.
Initial questions you should ask yourself is: What type of environment works best for your brand shoot? Do you want an office vibe with a desk and chair available or do you want to shoot outside with lots of greenery?
Maybe you could rent a super dreamy studio space, with lots of light, white walls and a super cute sofa! Lock in your location so you know what you’re working with.
I knew my photographer had her own stunning studio, Sol Atelier, in Toronto, so I decided to rent out! It was the perfect place. White walls, cute chairs, beautiful tables, a gorgeous sofa, a large mirror and lots of natural light! It was exactly what I envisioned.
3. Create A Shot List
Once you lock in your photographer, then you need to create your shot list.
Now some photographers might have a specific process. For example, I had to create a Pinterest mood board with all the poses and photo inspo and then we had a strategy call a week before the shoot day!I would suggest that you first create a Pinterest mood board to set the tone, look and feel for my brand photoshoot. Then create your killer shot list, which is a list of very specific images you want to recreate for your shoot.
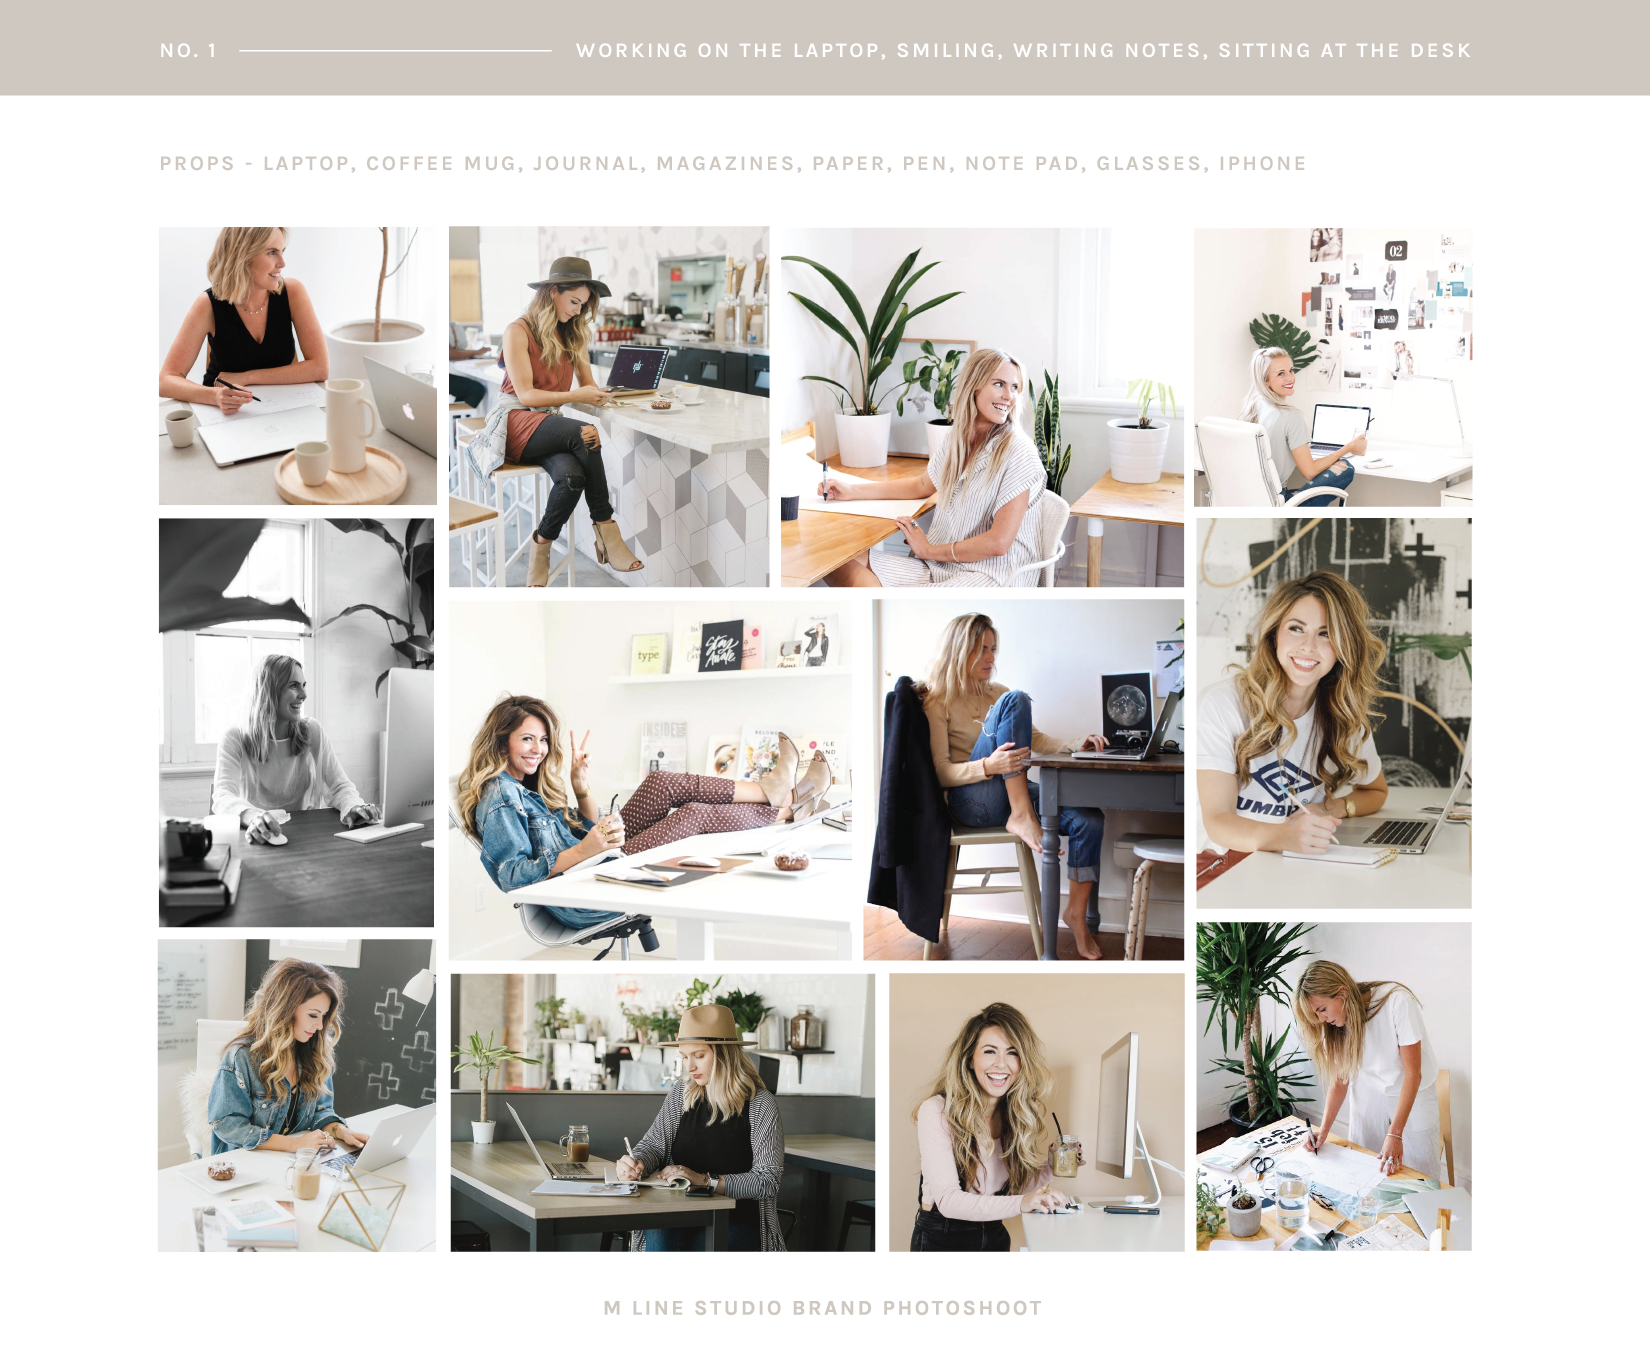
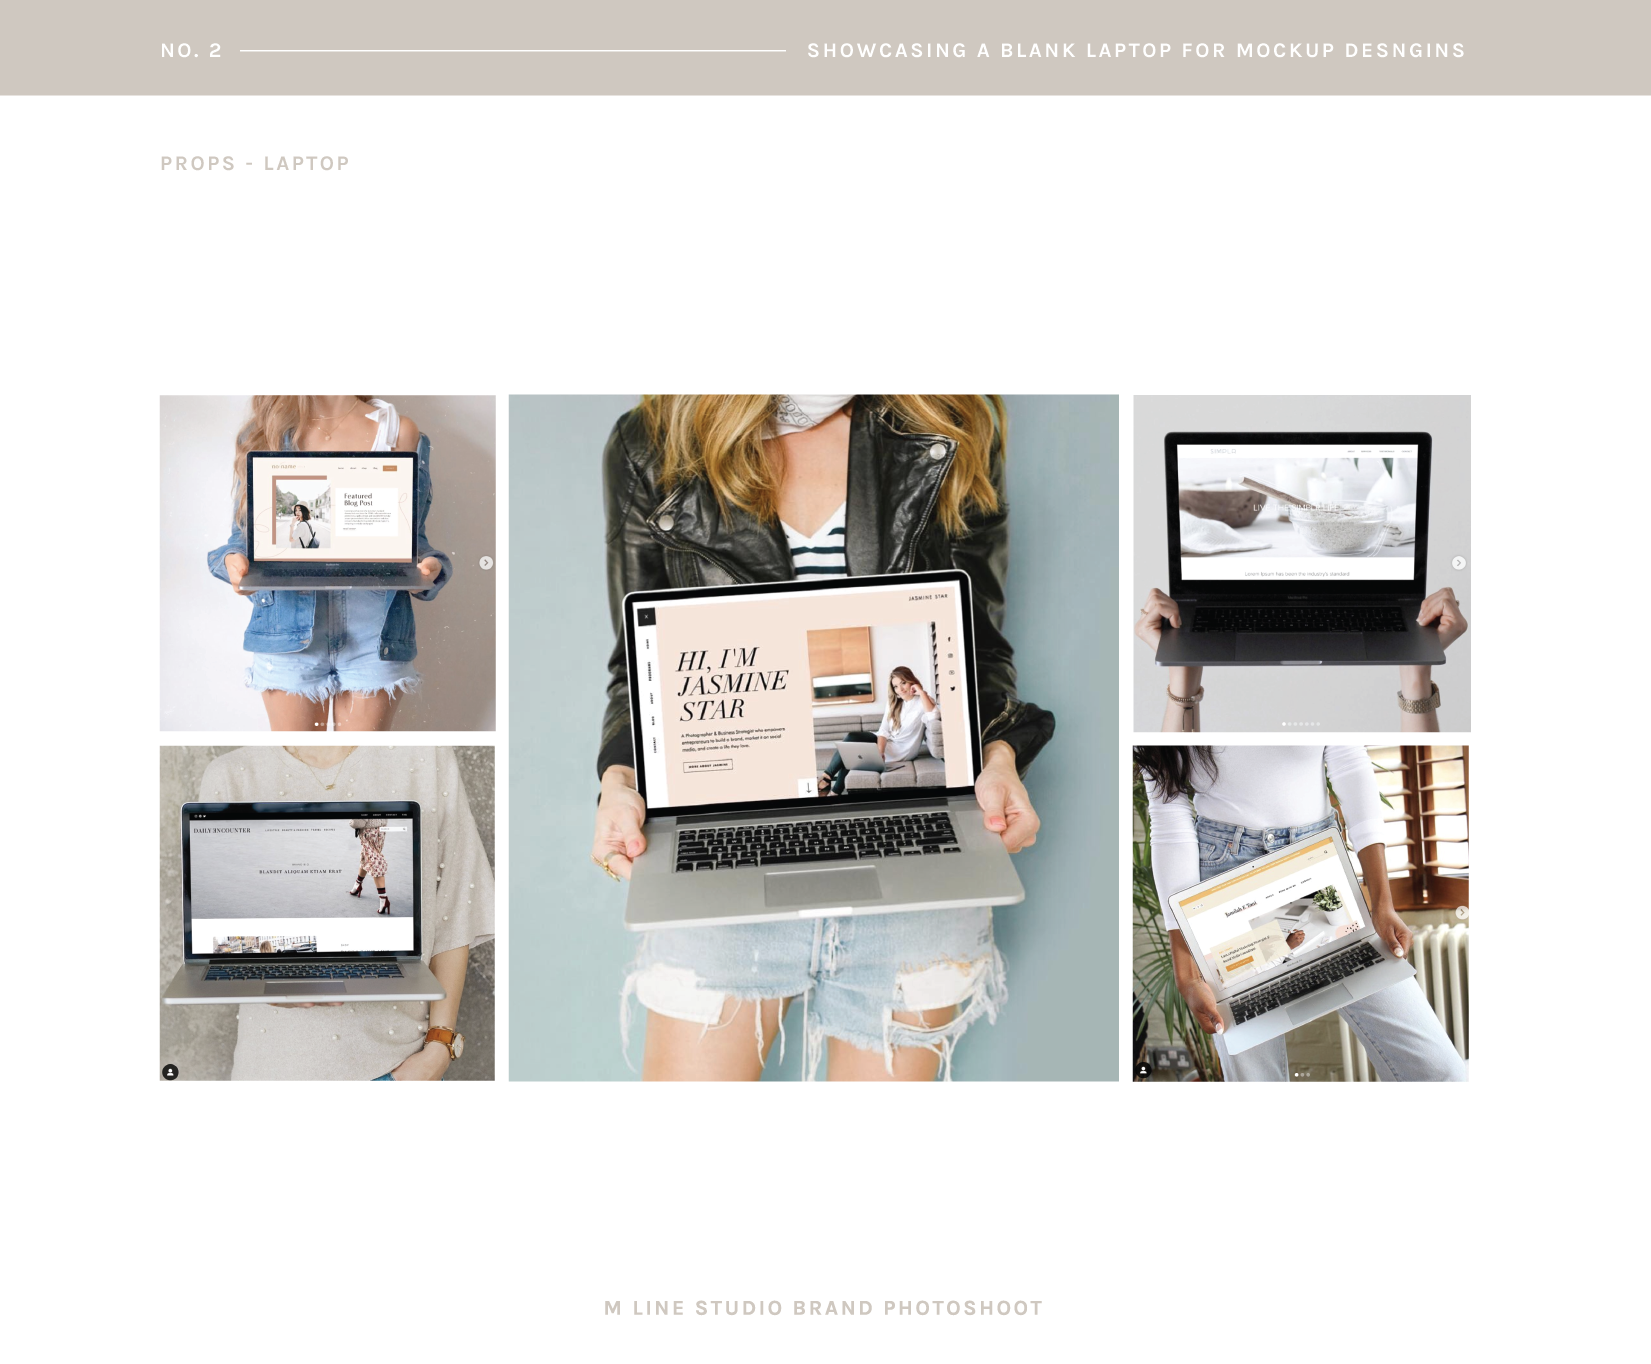
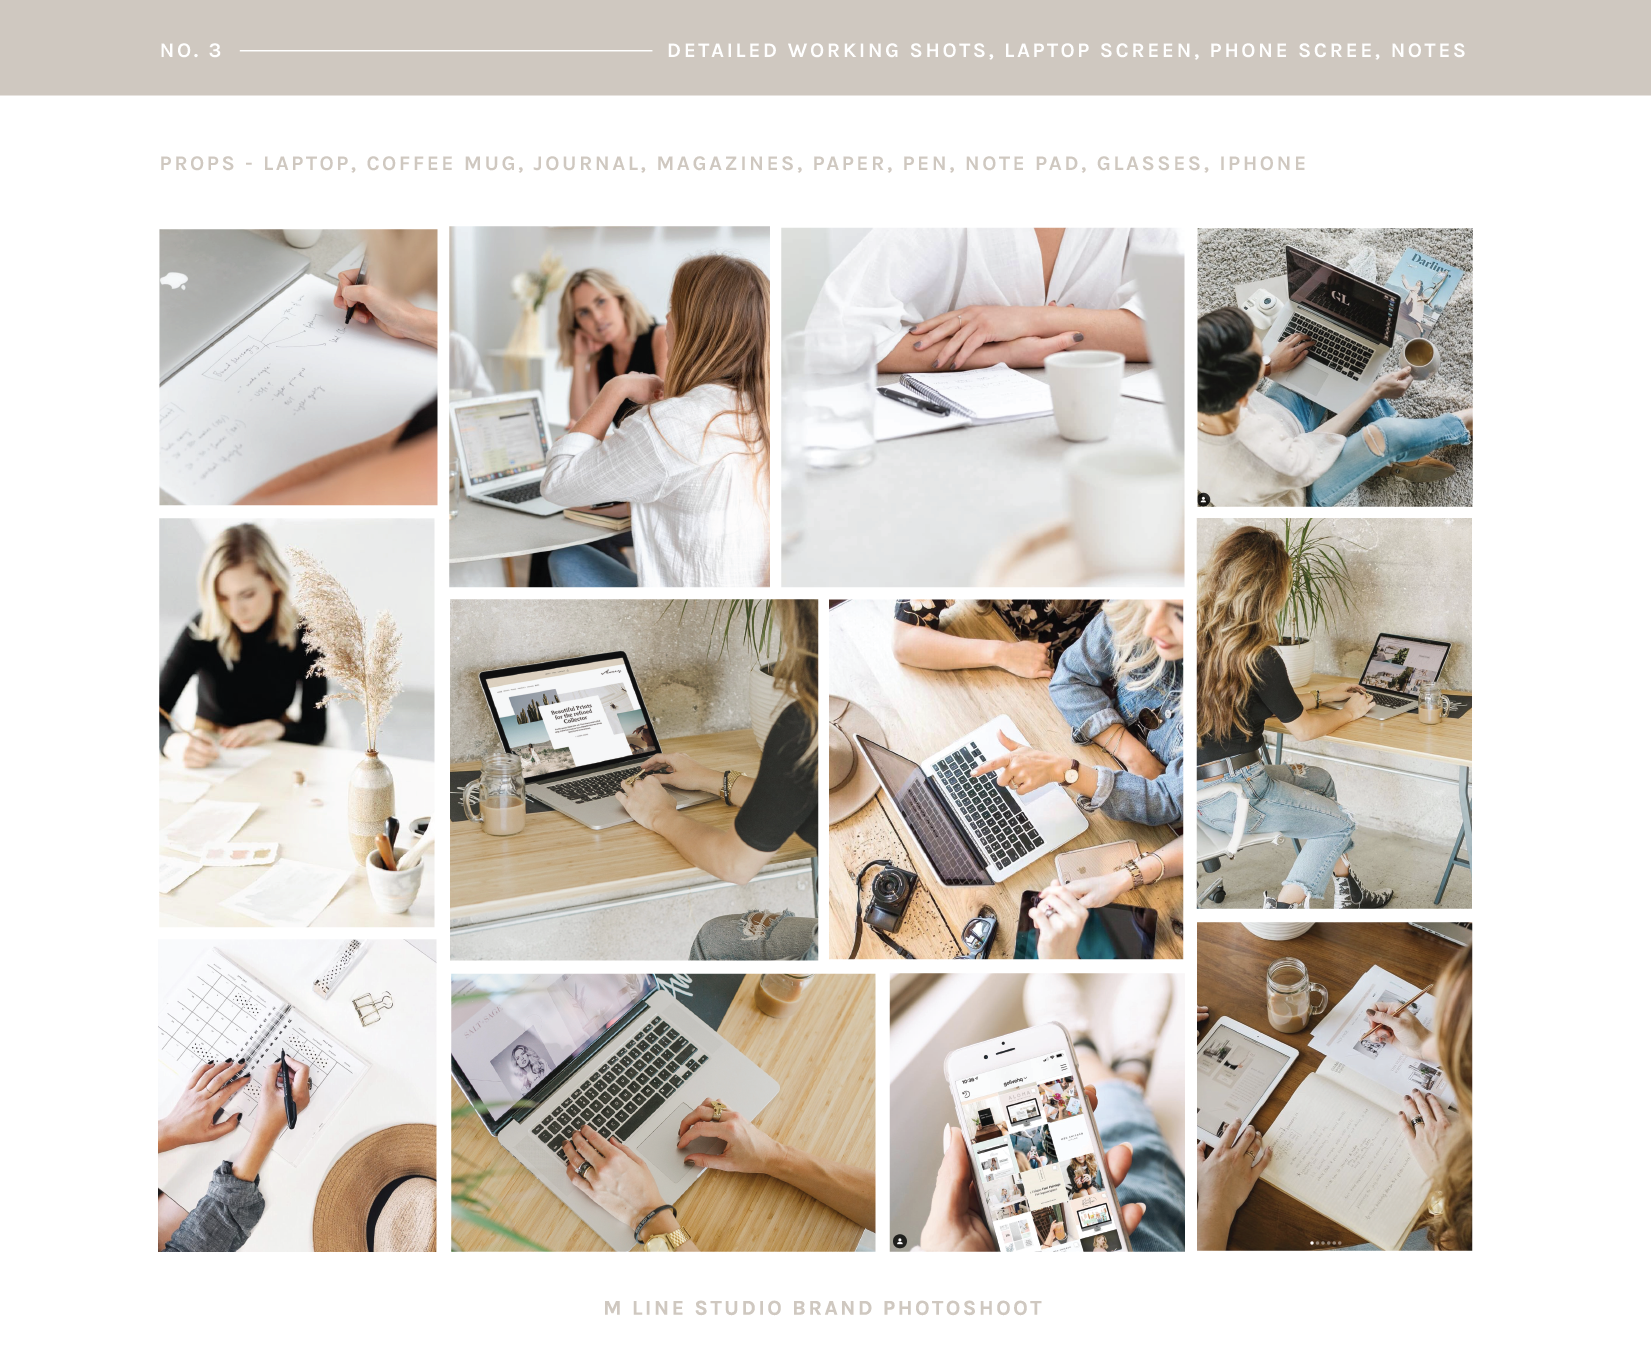
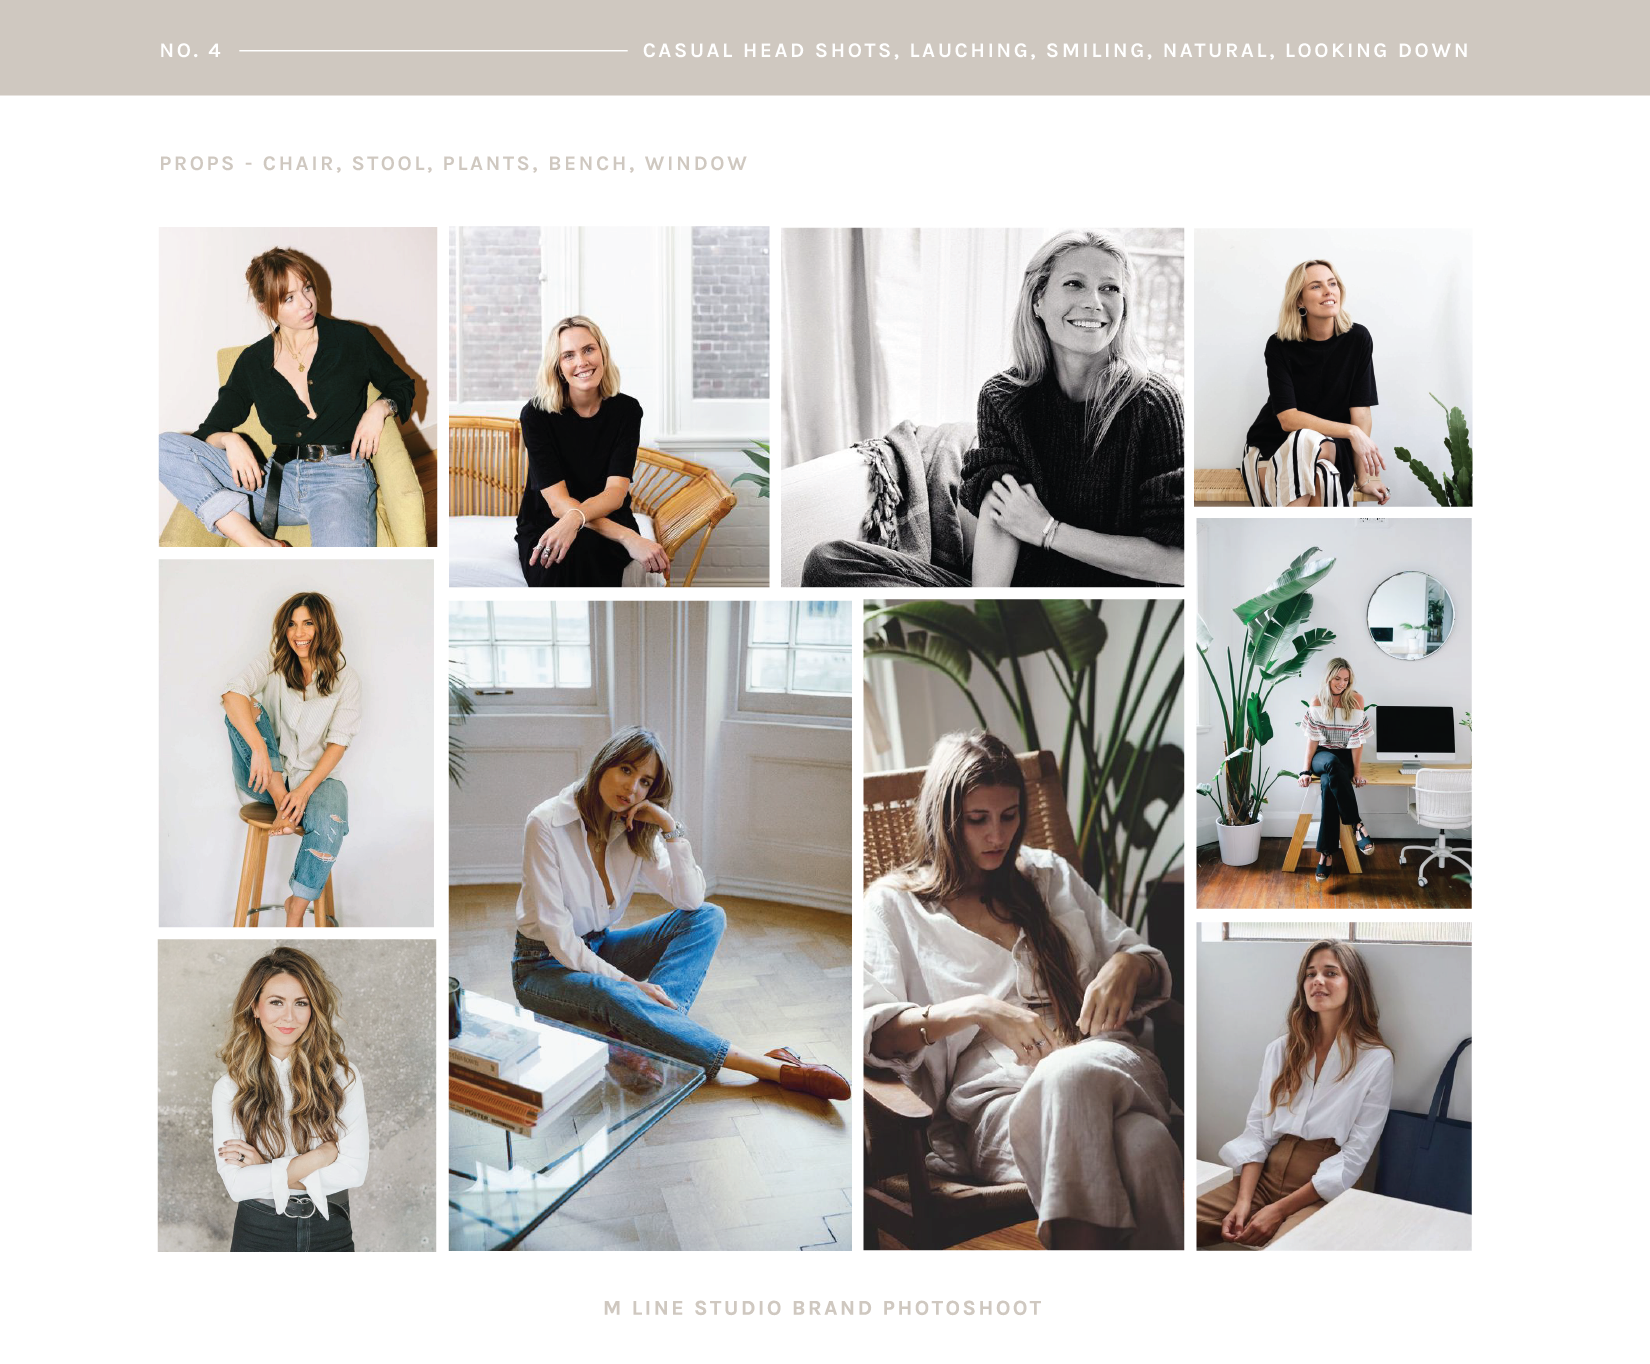
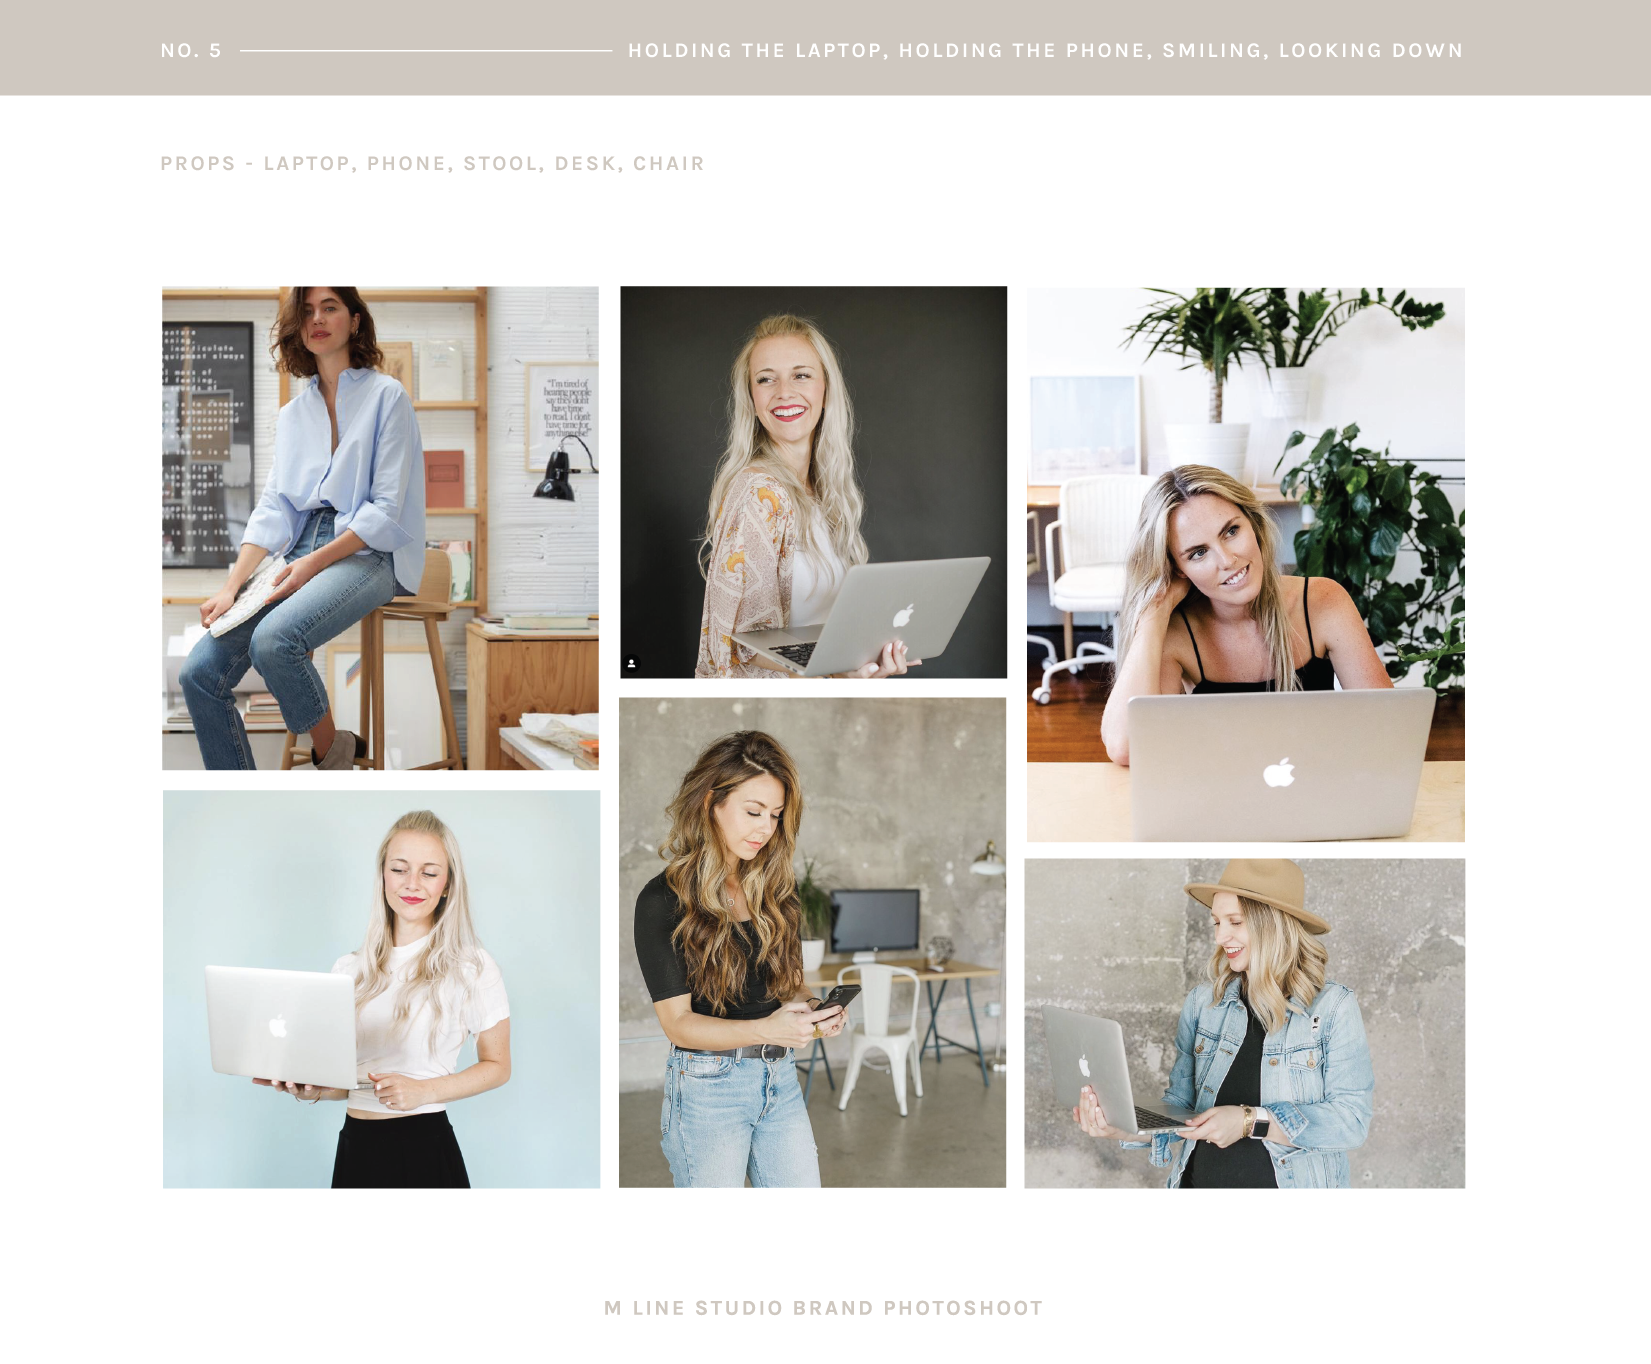
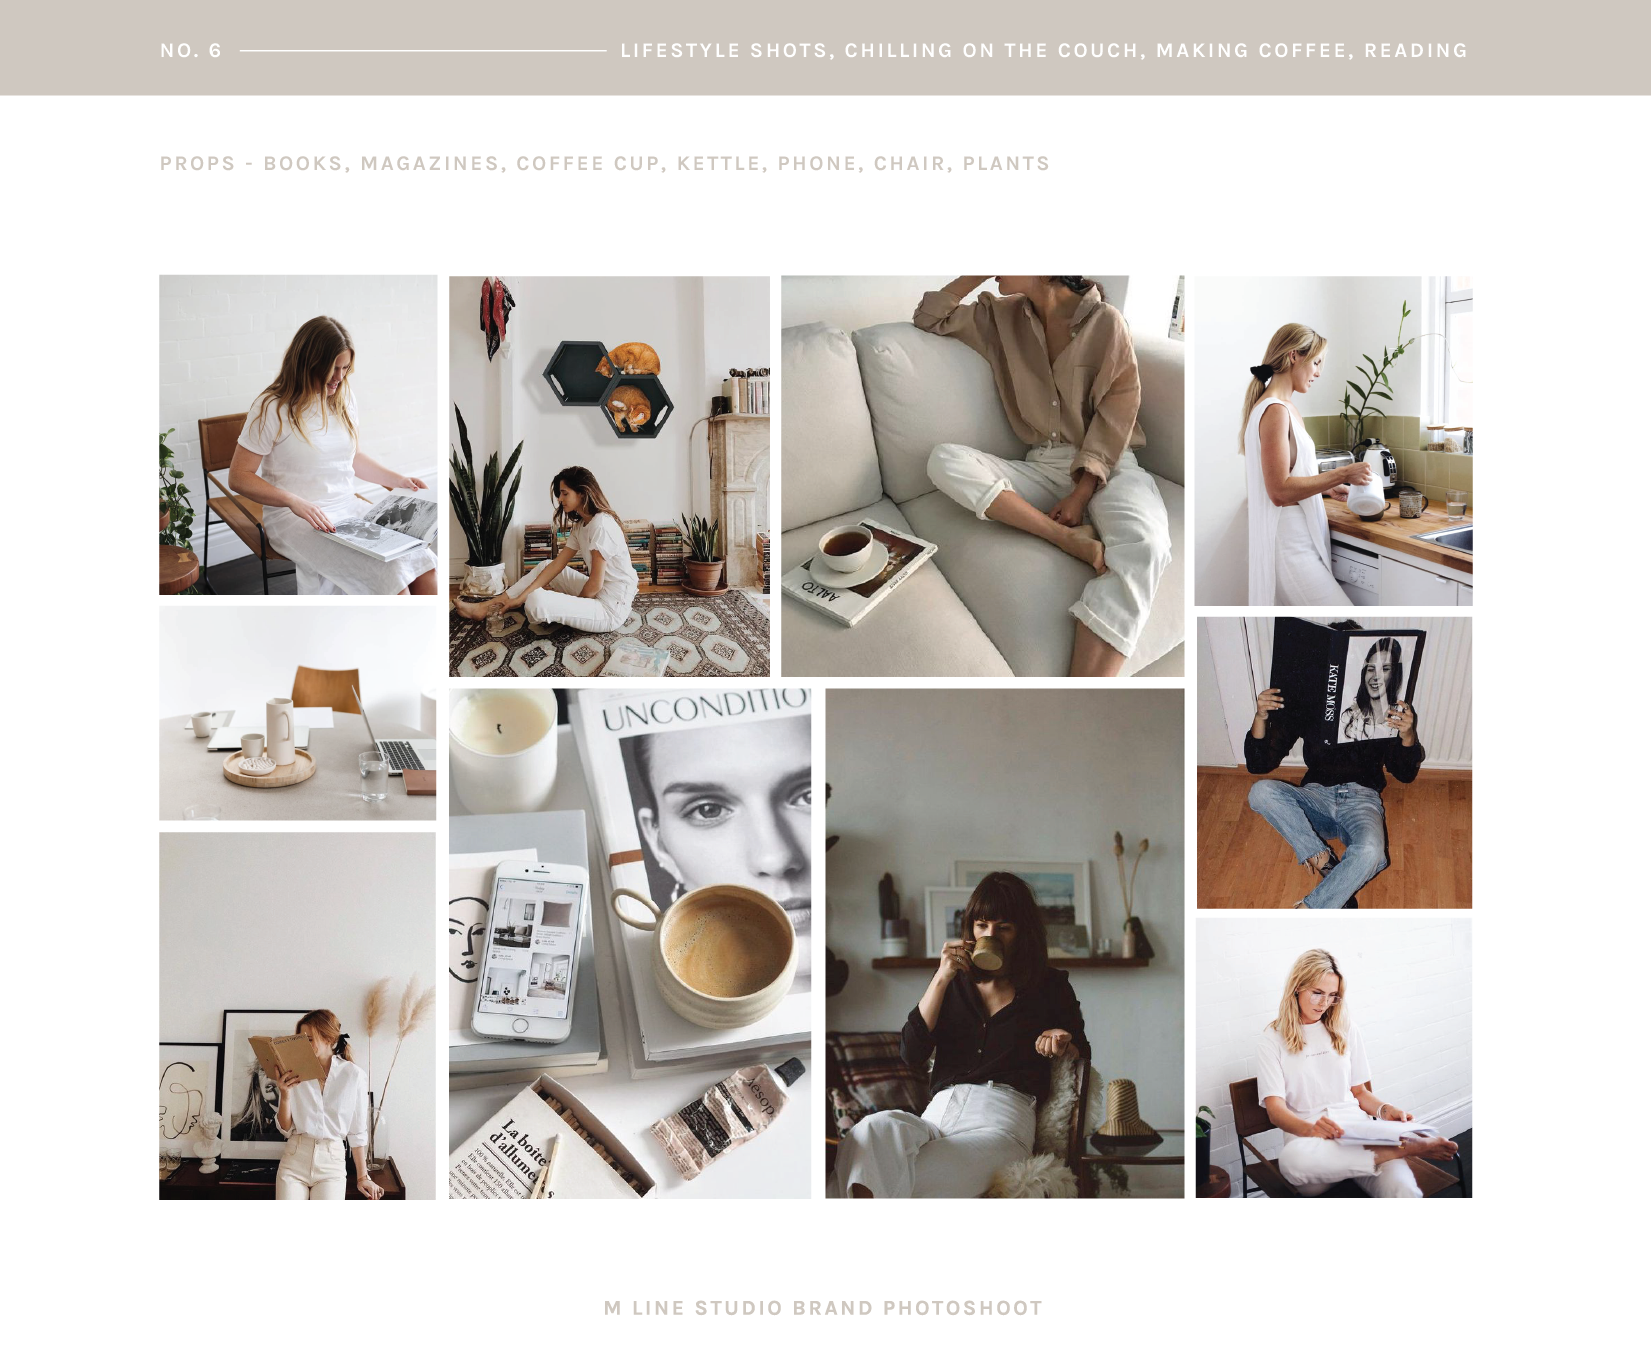
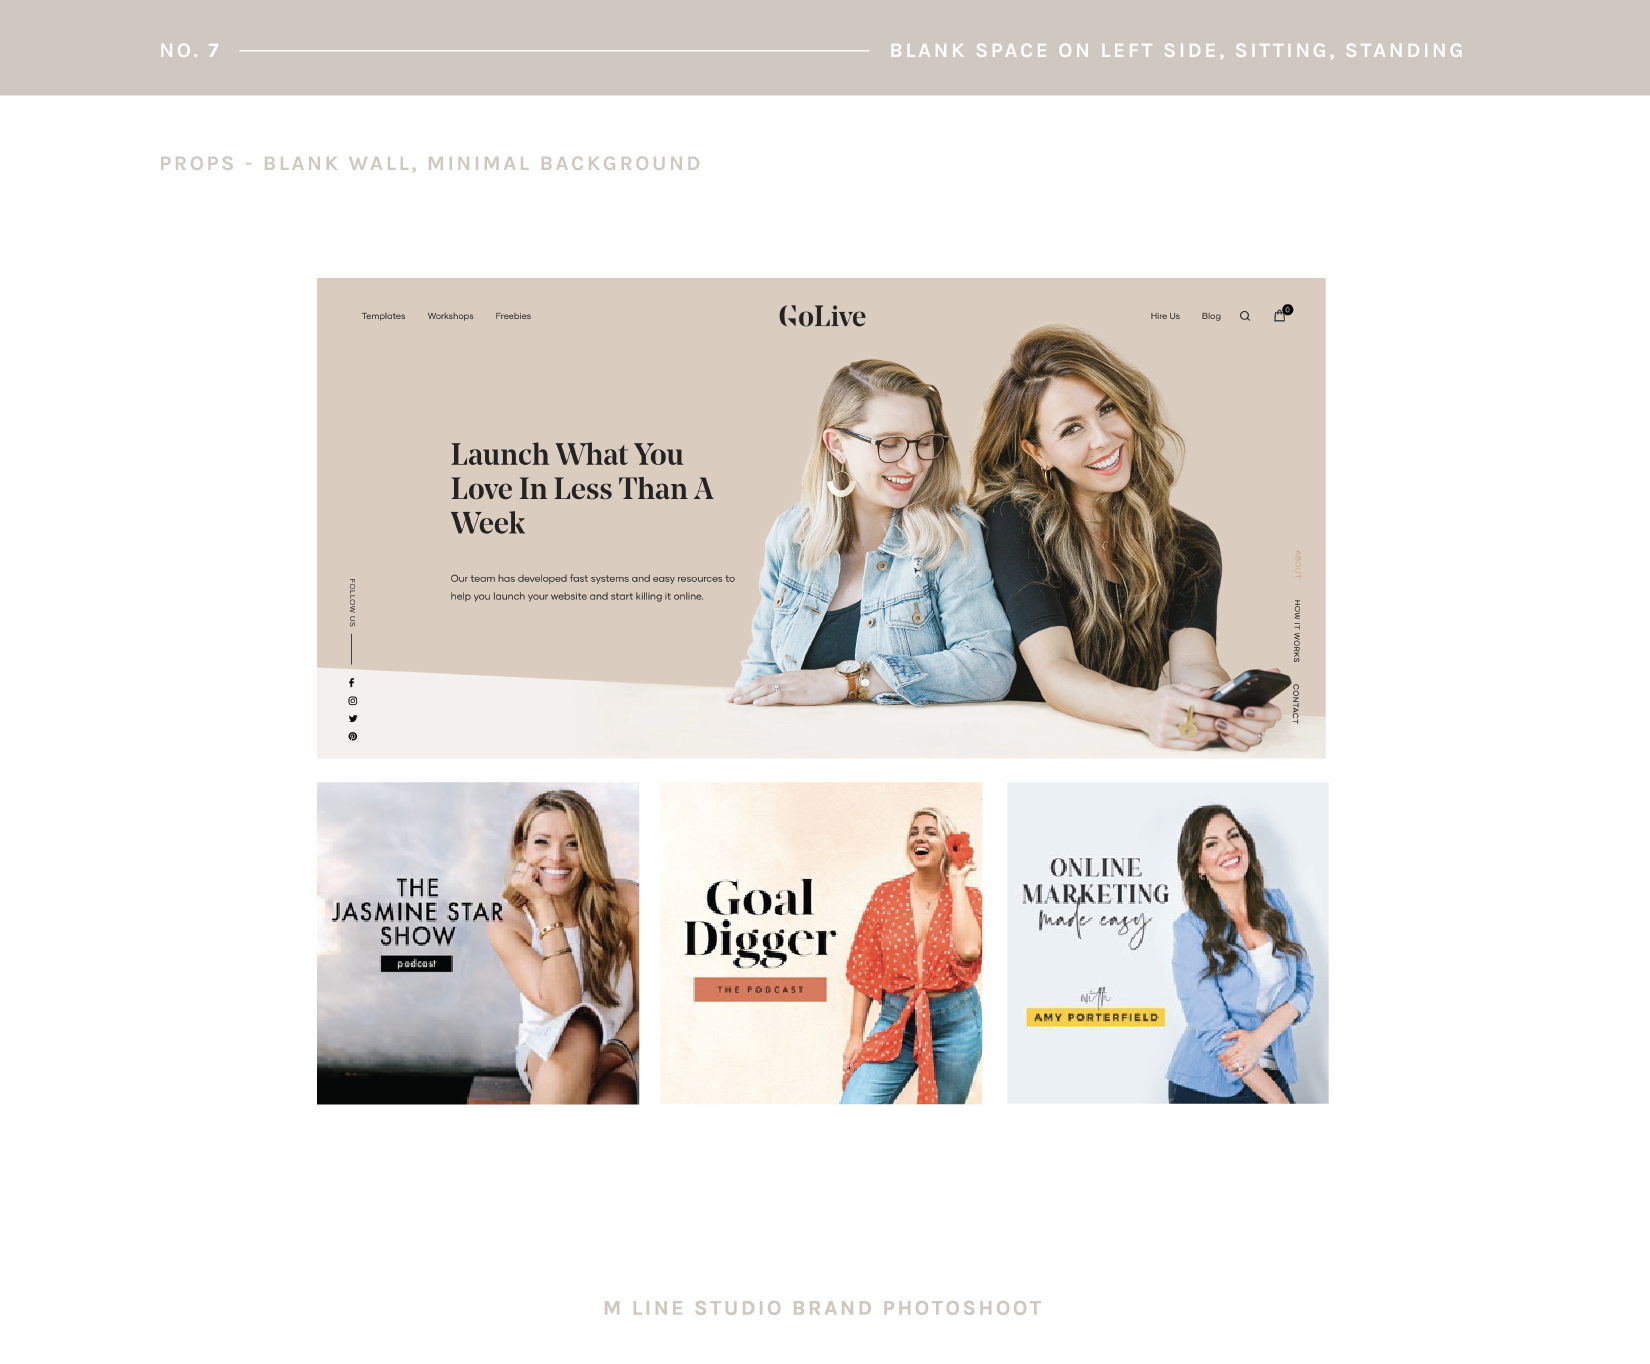
My shot list had 7 different scenes, with specific props, poses and white space. I wanted images that would look good on my website, with blank space for copy, and I wanted a mix of horizontal and vertical images.Your shot list acts like a guide or reference for your photographer. It helps keep you on track and ensure that you get all the shots you want! (Make sure you print it out on the day of the shoot!)
Here is the exact shot list I created for my brand photoshoot!
4. Gather Your Props & Outfits
In my shot list you might see a list of props on the top of each page. As you find images that you want to recreate, make note of all the props that you might need! Ex) Laptop, iPhone, notebooks, coffee mug, glasses, table, chair etc.
For my props I brought fancy Kinfolk magazines, Moleskin notebooks, my MacBook Pro, my iPhone, my favourite ceramic mug, glasses, pens, and anything I thought would help give my photos a more lifestyle look and feel.What are you going to wear? Put together at least 3 outfits that you’d want to wear for your photoshoot, and make sure the colour scheme is on brand.
For my photoshoot I picked out 3 outfits that were neutral in color. I went for white, black, denim and beige. I did a mix of professional pieces with more casual clothing.


Once you have your shot list ready, your props packed up and your clothes all ready to go, all you have to do is arrive at your shoot location and let your photographer work their magic!
My photoshoot with Ashley was AWESOME! The photos turned out AMAZING and I truly believe that creating my shot list was the key tool that helped Ashley bring my vision to life! Also, Ashley is ridiculously talented and I was BLOWN AWAY by the photos she was able to capture of me. DREAM TEAM!
These 4 steps will prepare you for a super successful brand shoot and I swear this will be one of the best investments you make in your business!
xo
Emma


